Firm-AFL
Firm-AFL
前言
Firm-AFL是一款用于对物联网固件进行模糊测试的工具,该工具通过增强进程仿真促进测试效率,拥有QEMU系统仿真与用户模式仿真的优点。更多技术细节可以去查阅论文。
Firm-AFL所依赖的环境较多,搭建起来复杂,因此记录一下搭建Firm-AFL的细节。
环境搭建
首先下载
Firm-AFL,git clone https://github.com/zyw-200/FirmAFL.git编译全系统仿真以及用户模式仿真的文件
User mode
cd user_mode/ ./configure --target-list=mipsel-linux-user,mips-linux-user,arm-linux-user --static --disable-werror make1
2
3
4
5
6
7
- System mode
- ```shell
cd qemu_mode/DECAF_qemu_2.10/
./configure --target-list=mipsel-softmmu,mips-softmmu,arm-softmmu --disable-werror
make
安装
firmadyne安装依赖
1
sudo apt-get install busybox-static fakeroot git dmsetup kpartx netcat-openbsd nmap python-psycopg2 python3-psycopg2 snmp uml-utilities util-linux vlan下载项目
1
git clone --recursive https://github.com/firmadyne/firmadyne.git
安装
binwalk1
2
3
4
5
6
7git clone https://github.com/ReFirmLabs/binwalk.git
cd binwalk
sudo ./deps.sh
sudo python ./setup.py install
For Python 2.x, sudo apt-get install python-lzma
sudo -H pip install git+https://github.com/ahupp/python-magic
sudo -H pip install git+https://github.com/sviehb/jefferson.配置
frimadyne数据库1
2
3
4
5
6
7sudo apt-get install postgresql
sudo -u postgres createuser -P firmadyne, #密码为firmadyne,创建用户
sudo -u postgres createdb -O firmadyne firmware #创建数据库
xz -d data.xz #作者提供的数据库文件
mv data /firmadyne/database/schema
sudo -u postgres psql -d firmware < ./firmadyne/database/schema #导入数据库文件,这里需要采用作者给出的数据库文件通过
frimadyne下载镜像1
sudo ./firmadyne/download.sh修改
frimadyne的配置文件信息1
gedit ./firmadyne/firmadyne.config将注释删掉,并且填写自己
firmadyne的路径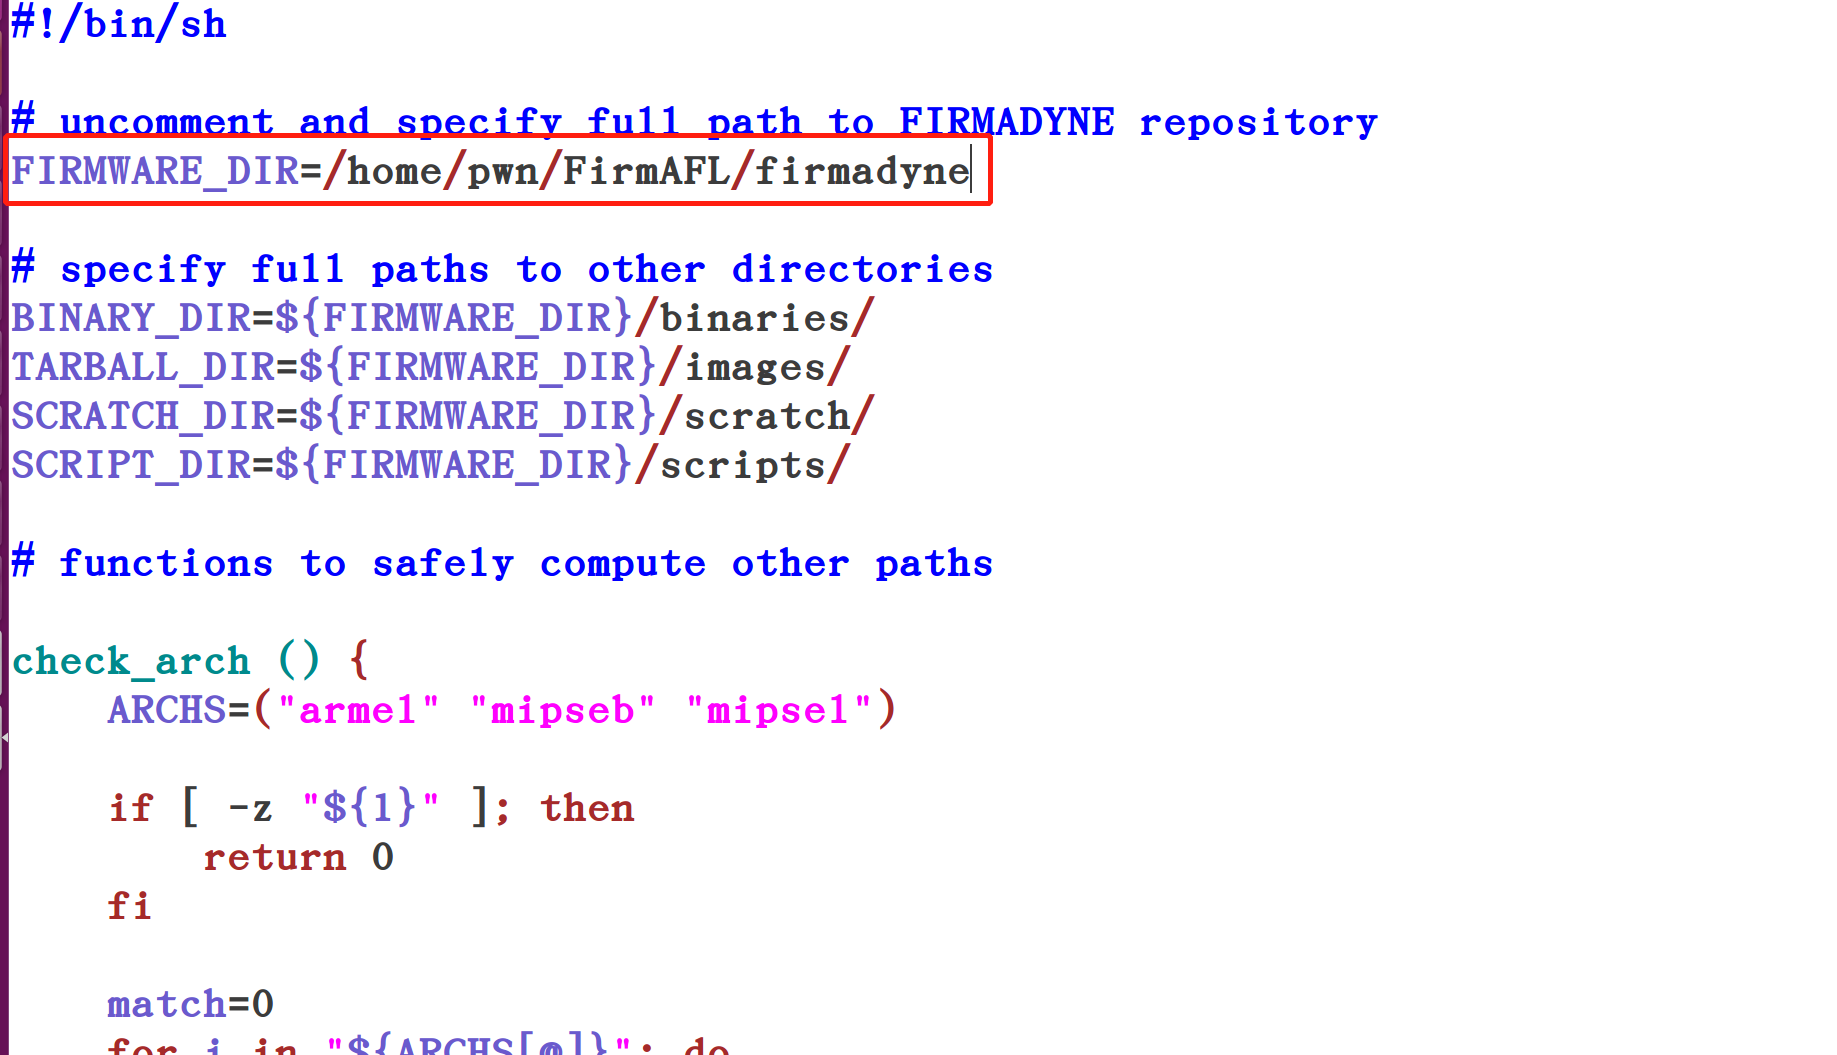
制作固件镜像
1
2
3
4
5
6
7
8
9cd ./FrimAFL/firmadyne #这里的frimadyne是上面下载的项目
sudo python3 ./sources/extractor/extractor.py -b dlink -sql 127.0.0.1 -np -nk "../firmware/DIR-815_FIRMWARE_1.01.ZIP" images #提取镜像,提取的镜像放在了images文件夹下
sudo ./scripts/getArch.sh ./images/9050.tar.gz
#这里作者修改了makeImage.sh脚本,因此采用作者的脚本
cp ./FrimAFL/firmadyne_modify/makeImage.sh ./FrimAFL/firmadyne/scripts
sudo ./scripts/makeImage.sh 9050
sudo ./scripts/inferNetwork.sh 9050
cd ..
python FirmAFL_setup.py 9050 mipsel此时镜像已经制作完毕,如下图
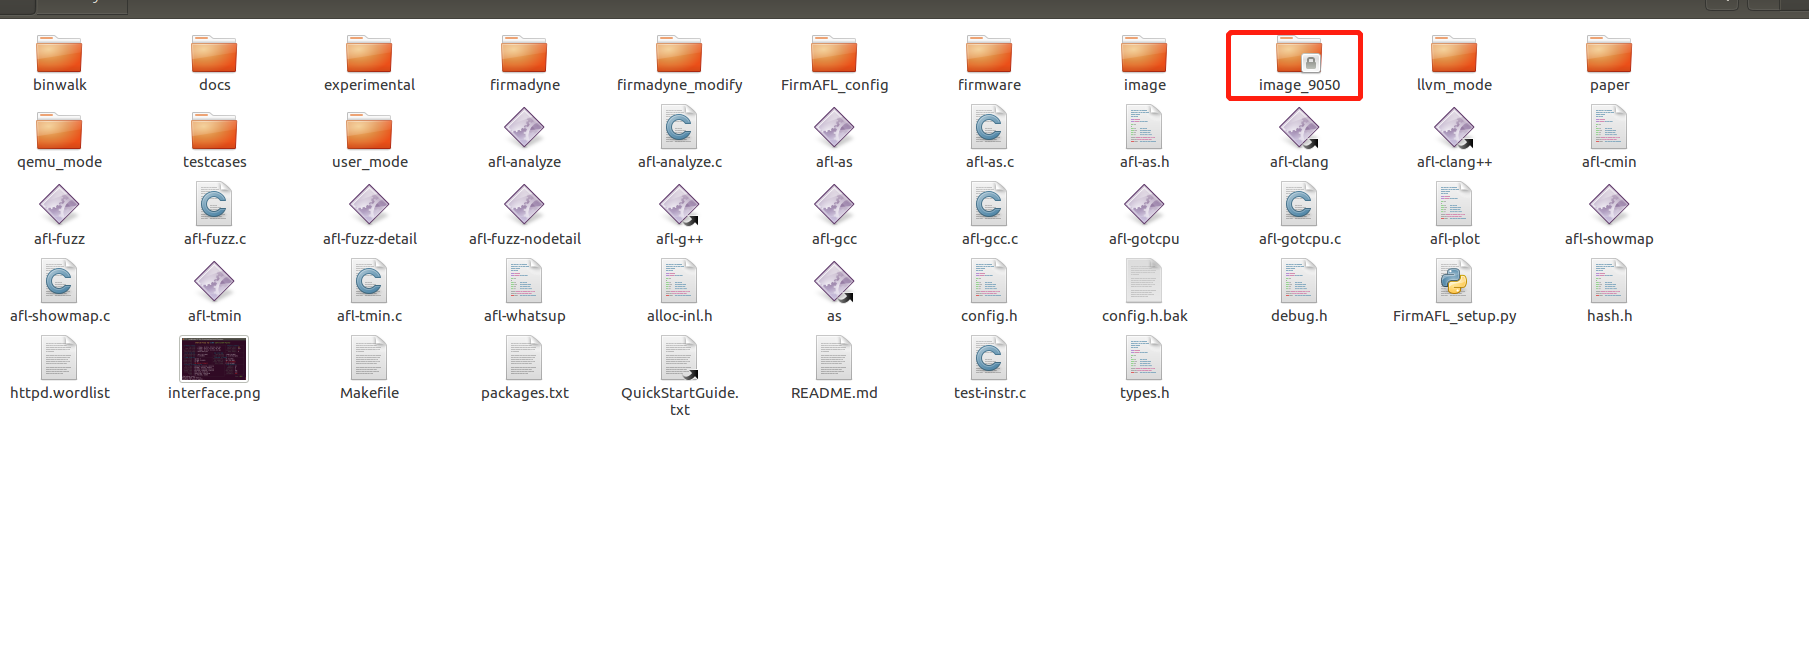
Fuzzing
1
2
3
4
5
6
7
8
9
10
11
12
13cd ./FrimAFL/image_9050
#这里可以使用作者提供的启动文件
cp ./FrimAFL/FirmAFL_config/9050/run.sh ./FrimAFL/image_9050
#这里可以通过start.py直接完成仿真+模糊测试
#python3 start.py
#或者分步启动
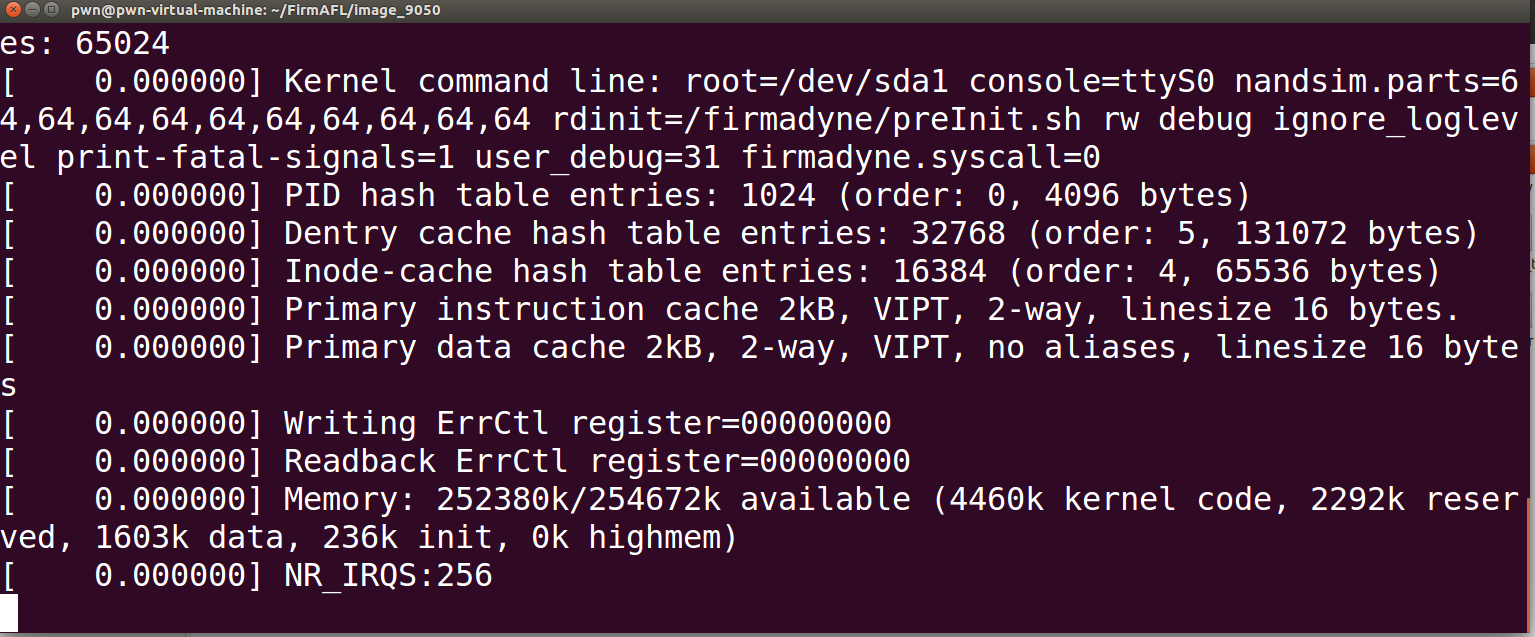
sudo ./run.sh #开启仿真
python3 test.py#可以运行这个测试文件,判断仿真完毕没,这里需要主要偶的时候这个test.py是用python2写的,需要略微修改一下才能用python3启动
sudo ./user.sh #若test.py可以正常执行,则开始Fuziing- 开始仿真
- 运行测试文件,判断仿真是否完成
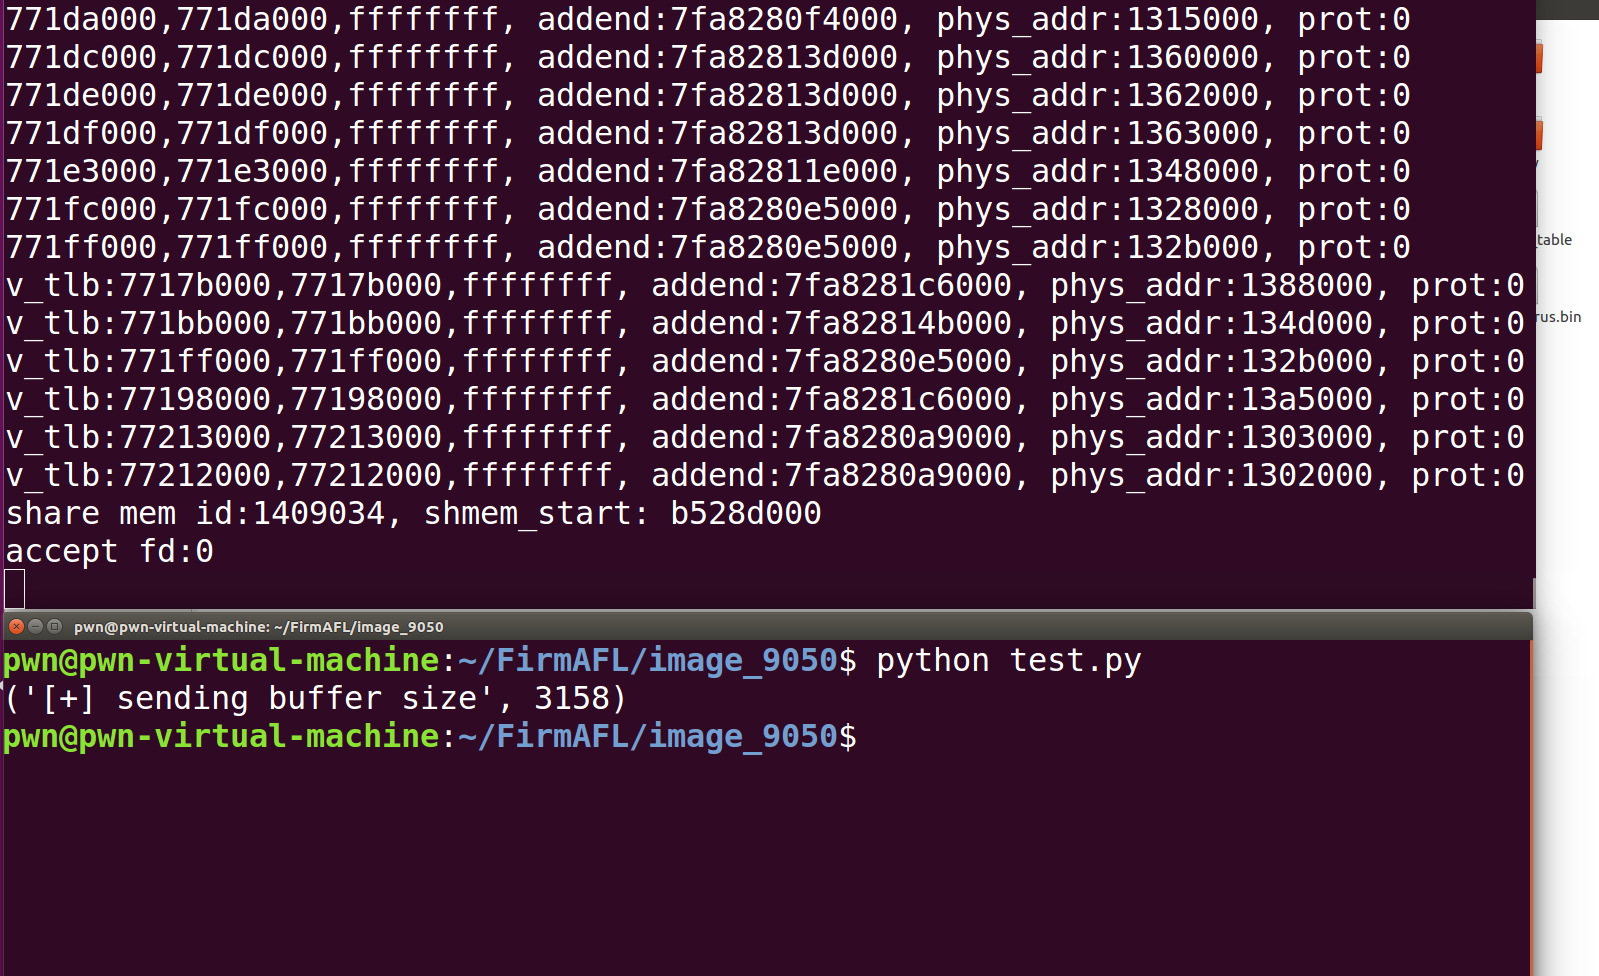
- 仿真完成后就可以Fuzzing了
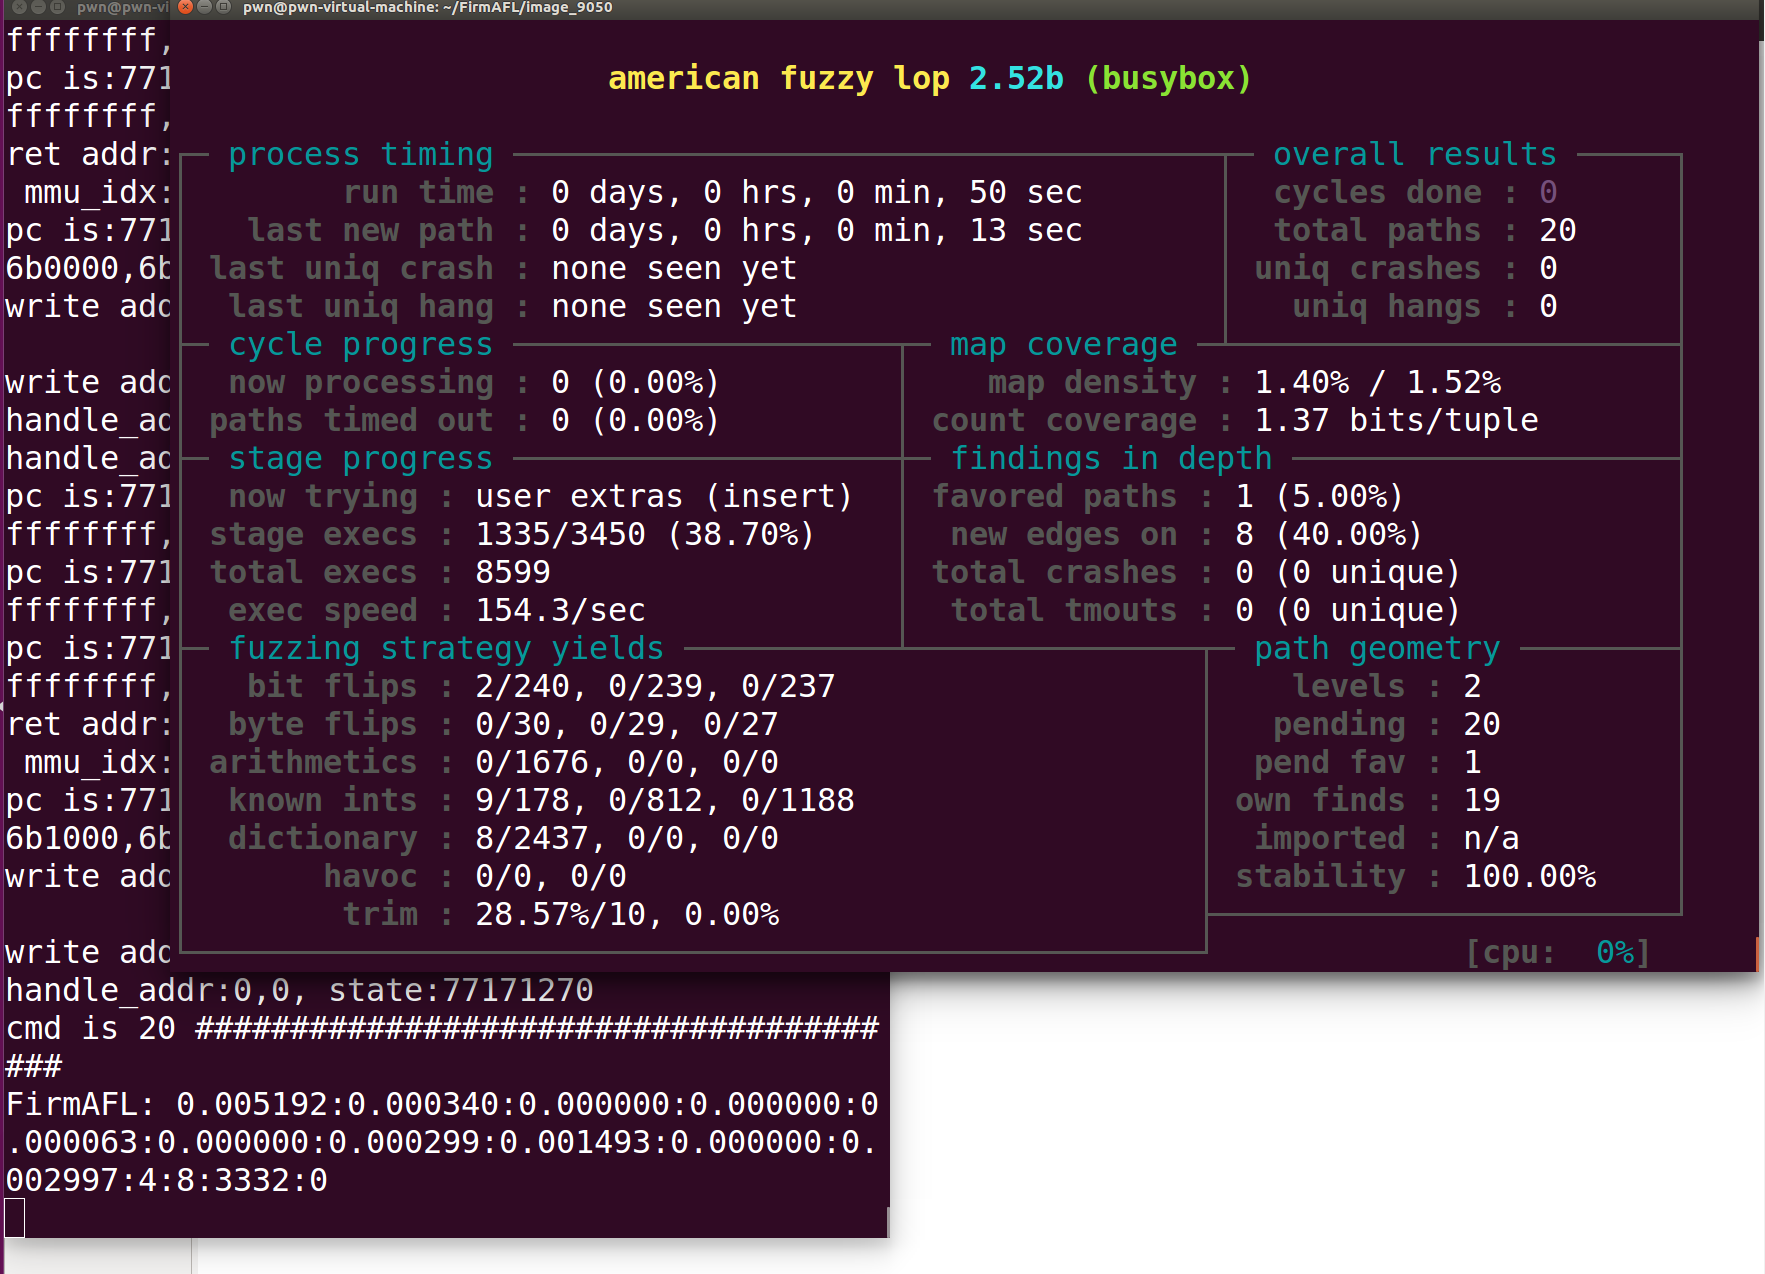
遇到问题
1.缺少autoreconf
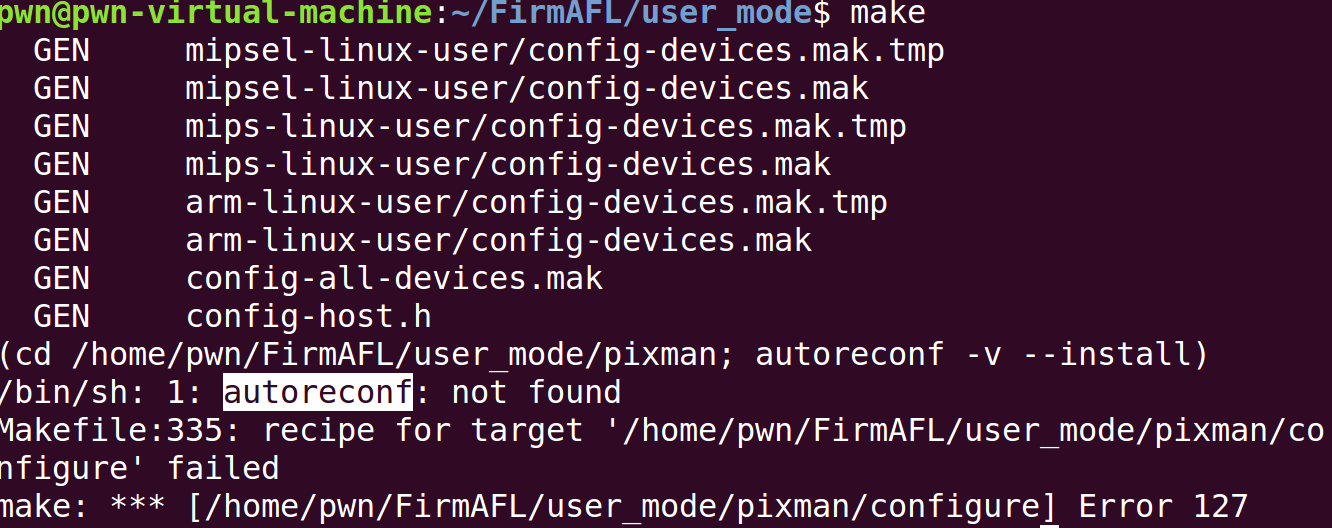
安装一下autoerconf
1 | |
2.possibly undefined macro: AC_PROG_LIBTOOL

安装一下libtool
1 | |
3.找不到-lbfd

1 | |
4.缺少boost.foreach.hpp文件

1 | |
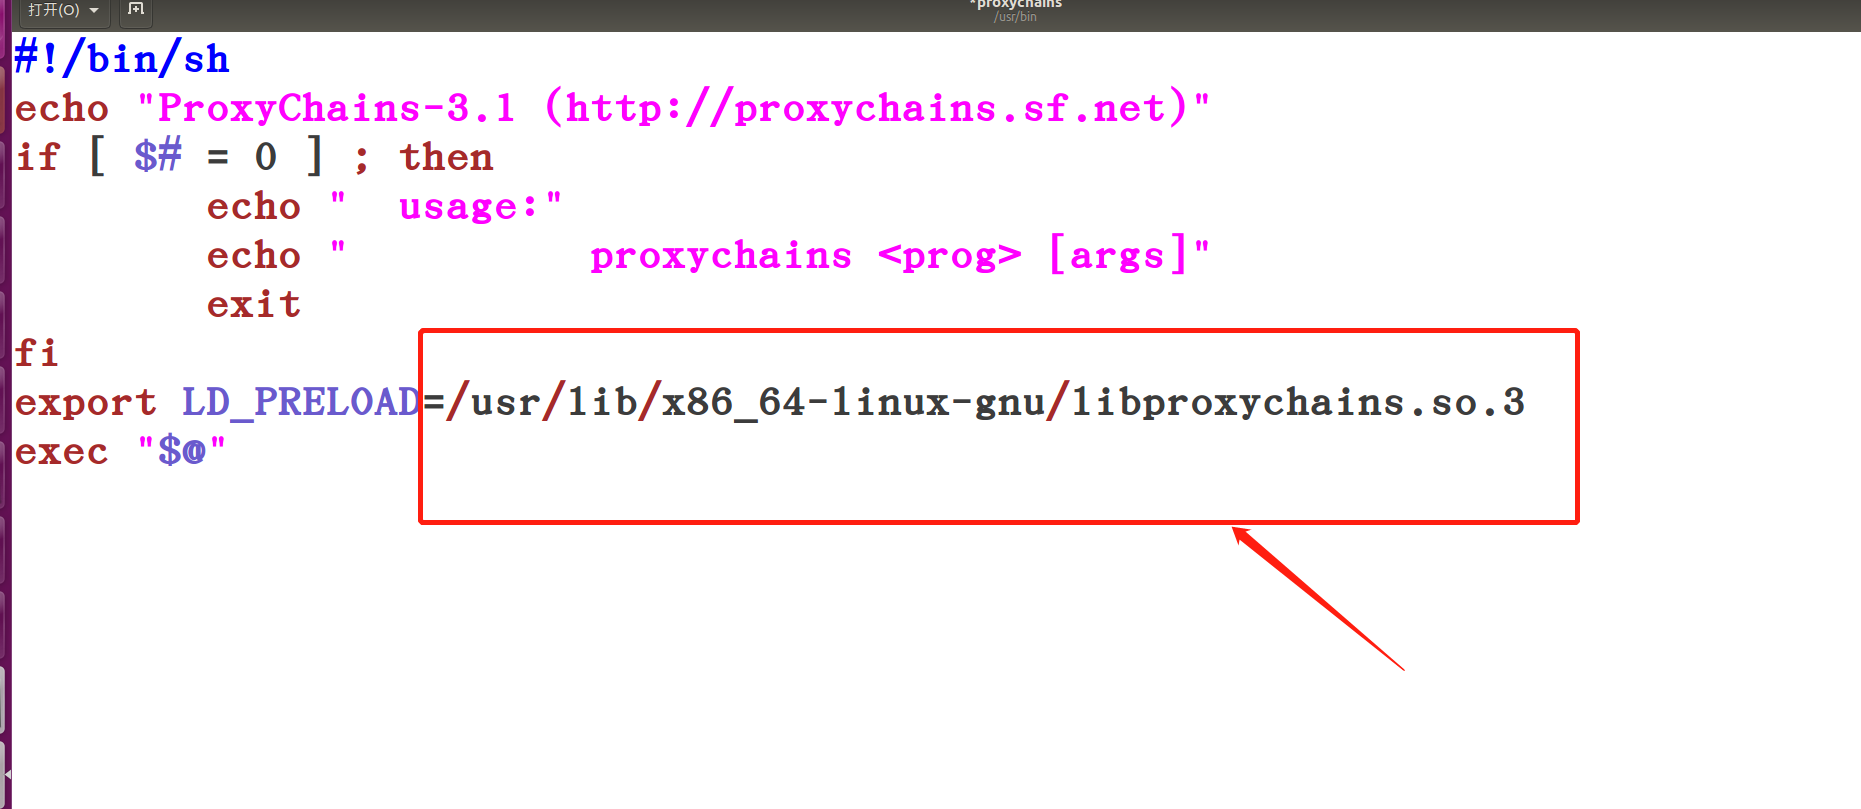
5.libproxychains.so.3出错

首先找到安装的路径/usr/lib/x86_64-linux-gnu/libproxychains.so.3

sudo gedit /usr/bin/proxychains修改配置
7.could not be found for jpeg

1 | |
参考链接
https://github.com/firmadyne/firmadyne
https://github.com/zyw-200/FirmAFL
https://github.com/ReFirmLabs/binwalk
https://blog.csdn.net/weixin_43695001/article/details/123486237